Expert Advice:
Before attacking our lab's vacuum forming machine, I decided to get some professional advice. I called a few commercial vacuum forming companies and eventually spoke with a nice man named Hugh Mitzner. Hugh has been running a vacuum-forming company in San Carlos for 25 years. He was interested in helping me.
I headed to his shop one day and he was gracious enough to spend about an hour with me, answering all my questions and giving me loads of tips and tricks. Looking back, his counseling helped me end up with a fantastic vacuum-formed part.
With Hugh's words of wisdom, I started to work with our program's vacuum forming machine. It's quite a old machine, dating back probably to the 60's or 70's - it was donated to the program by Mattel and was probably used in its heyday to make toy packaging.
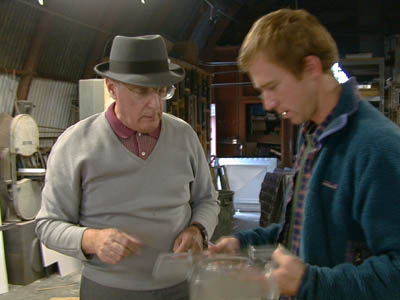
Hugh Mitzner of Dyna-Form
Vacuum forming:
The process is pretty simple. You mount your buck to a platter that can be raised and lowered with a pneumatic piston. This platter has holes in it and is connected to a vacuum system. A sheet of the plastic you want to use is clamped in a rack over the buck. This rack then slides backward into a small oven at the rear of the machine. In the oven, the plastic heats up and eventually becomes malleable. Once the plastic reaches this state you slide in back out over the buck. You then raise the buck up, pressing it into the heated, pliable plastic sheet. At this moment, you activate the vacuum system and the plastic sheet basically gets sucked in and around your buck. Hold everything in place for a minute or two and the plastic now cools in the shape of your buck. Remove the buck and-voila!-a vacuum formed bottle cavity!
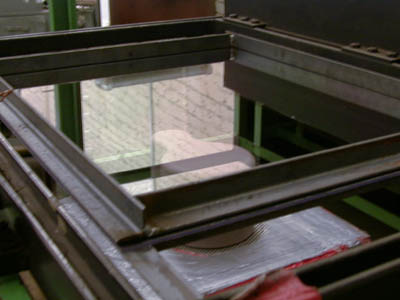
Heated plastic before forming.
The three photos to the right show the process before, during, and after. In the first photo, a cold sheet of FDA-approved, food-safe PETG plastic is about to be slid rearward into the oven; the buck is affixed below to the vacuum platter. The second photo shows the form just after the vacuum buck has been forced up into the heated sheet (the wooden piece is called a "follower" - it's basically a cutout, slightly bigger than the buck that you press over the buck to help stretch the plastic down and around). The final photo shows the plastic, cooled, around the buck (note the airholes around the perimeter of the buck - the vacuum is pulled through those holes to suck the plastic in and around). It is impossible to have the plastic form tightly around the base of the buck. By making the buck taller than I actually needed, I could cut the bottle shape well above this baseline, and thereby be assured of a form that closely matched the buck form.

Heated plastic after forming with wooden "follower".
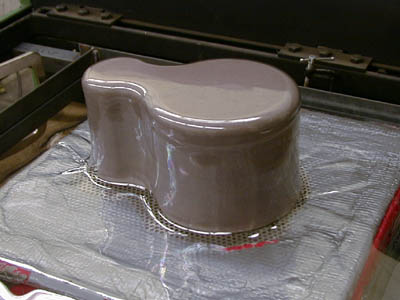
Final formed plastic (before buck is removed).